What is the best aperture for bird photography?
There are quite a lot of settings you can adjust on your camera. Especially for beginners this can be pretty confusing. Luckily there is one setting for bird photography which most of the times stay always the same.
What is the best aperture for bird photography? In order to separate the bird from the background, you generally need to open the aperture as far as possible. Thanks to the open aperture the background is a lot more blurred. The background is therefore a lot less distracting.
A fast aperture, meaning the aperture is wide open, has the following two advantages:
- Better background separation
- More light on the sensor
What is the aperture?
The aperture is the mechanical counterpart to the iris in the human eye. The aperture has a hole in the center through which the light passes and eventually falls on the sensor. The aperture is located in the rear part of the lens.
How large the opening in the center is can be controlled by moving several blades. These blades, usually 6 or 9 in number, are arranged in a circle and are moved evenly by a mechanism.
What does the aperture do?
The aperture influences how much light falls on the sensor. If the aperture opening is very small, i.e. the aperture is closed, very little light falls on the sensor. On the contrary, if the aperture is very wide open, more light falls on the sensor. So the image is differently bright depending on the aperture.
If the aperture is closed, the image is dark; if the aperture is wide open, the image is bright.
Of course, this only applies as long as the other settings remain the same.
The aperture not only affects the brightness of the image but also the depth of field. Depth of field is a phenomenon that you can observe yourself. Hold your left hand about 30 cm in front of your face. Now close one eye and look at your left hand. You will notice that whatever is behind your hand becomes blurry. If you now take your right hand and hold it in front of your left hand, the closer you get to the eye, the blurrier the right hand becomes.
The same happens with a camera. If you focus the camera on an object, all objects at the same distance from the camera will appear in focus. This distance is called the focal plane. The further away an object is from the focal plane, the more blurred the object appears.
Actually, however, the focus plane is a cuboid. So there is a certain range in which all objects are sharp. The depth of field indicates the size of this area. If the depth of field is small, this range is very small. With a large depth of field, the focus 'plane' or focus box is very deep.
How blurred an object is depends not only on the distance from the object to the focal plane, but also on the aperture. In general, the wider the aperture is opened, the more blurred the objects in front of and behind the focal plane become.
Furthermore, the blur is also dependent on the distance from the focal plane to the camera and the focal length. The following applies here:
The closer the focus plane to the camera and the longer the focal length, the blurrier the objects in front of and behind the focus plane become.
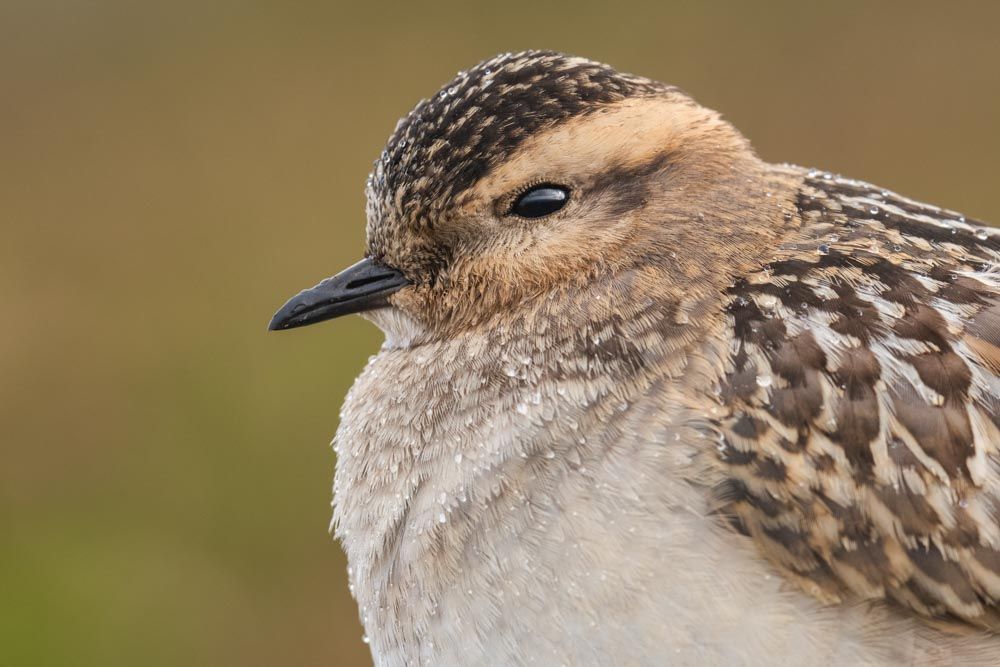
1/400 | f/ 8.0 | ISO 800 | 500mm
How is the aperture specified?
The aperture is specified in f-stops (f/ ). What exactly the numbers mean is not really necessary to know. It is simply important that you understand what large and small numbers mean with the aperture. A small f-stop number, for example f/ 4, indicates that the aperture is wide open. A large number like f/ 16, on the other hand, means that the aperture is very much closed.
Why can some lenses open the aperture further?
On each lens there is a number like f/ 4 or f/ 5.6. On some lenses this number is also f/ 4.5-6.3. So what does this number mean?
The number simply indicates the maximum aperture that can be set. This could be f/ 4 or f/ 5.6. For lenses with variable focal lengths, so called zoom lenses, the maximum aperture can be different depending on the focal length. For a 150-600mm f/ 4.5-6.3, the aperture can be set to f/ 4.5 at 150mm. At 600 mm, however, the aperture can only be set to f/ 6.3.
This is because the aperture number depends on the diameter of the lens as well as on the focal length. Because the diameter of the lens remains the same when zooming or increasing the focal length, the f-number will increase.
How to set the aperture on your camera
You can set the aperture either in Aperture Priority mode or in Manual mode. In Aperture Priority mode (Canon Av, Nikon and Sony A) you set the aperture and optionally the ISO sensitivity. The exposure time is chosen by the camera itself. In manual mode (all camera manufacturers M) you have to choose all settings yourself except optionally the ISO sensitivity.
For beginners I would recommend the aperture priority mode. Then you can concentrate on the aperture and especially on the exposure compensation and ISO sensitivity.
For advanced users I would recommend the manual mode. There you can set the aperture and the shutter speed. But I would leave the ISO sensitivity at ISO automatic. However, you have to use the exposure compensation for this. But you would have to use it also in aperture priority mode.
| Blendenpriorität | Manueller Modus | |
|---|---|---|
Shutter speed: | Auto | Manual |
Aperture: | Manual | Manual |
ISO-Sensitivity: | Auto/ Manual | Auto/ Manual |
Exposure-compensation: | Necessary | Necessary with ISO-Auto |
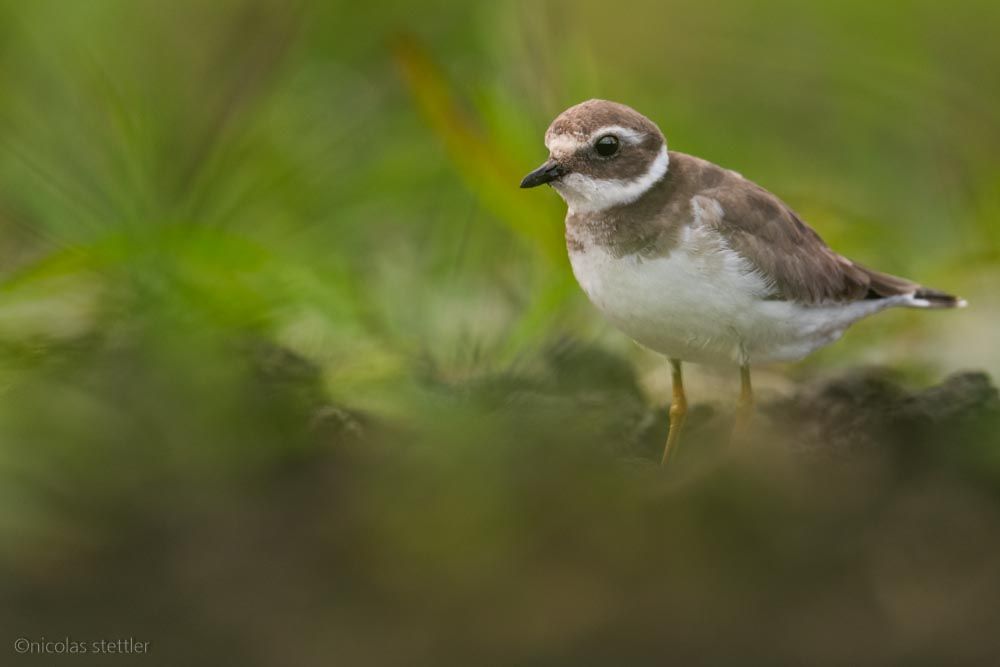
1/500 | f/ 4 | ISO 400 | 500mm
The advantages of a fast aperture in bird photography
The wide opening of the aperture makes the background of your pictures blurred. This has the effect that the background loses structure. These structures could otherwise distract the person looking at the picture from the subject of the photo, i.e. the animal.
If you have a completely blurred out background, the only structures are those of the animal. The focus is therefore much stronger on the animal. The animal catches the viewer's eye much more and therefore the animal does not always have to be shown big in the frame.
In addition to the blurred background you also gain light with a fast aperture. This allows you to either choose a faster exposure time or lower the ISO sensitivity of the sensor.
With a faster exposure time you can freeze the movement in the image. Especially with fast moving animals, like birds, a fast shutter speed is usually necessary to keep the bird sharp. Otherwise you might get motion blur.
A lower ISO sensitivity means that the images are less noisy. The higher the ISO value is set, the more pixels next to each other start to differ in brightness and color. These differences are completely random and become visible as noise.
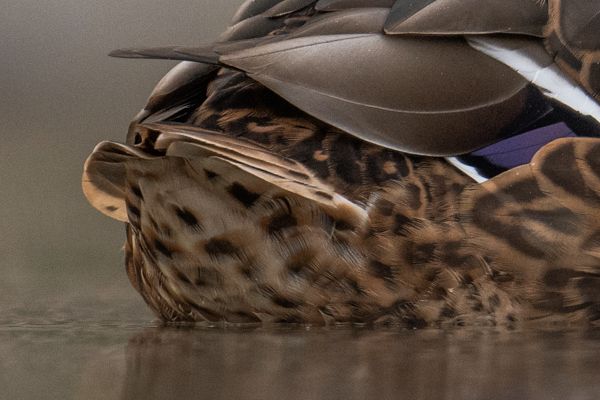
1/320 | f/ 4 | ISO 1000 | 500mm
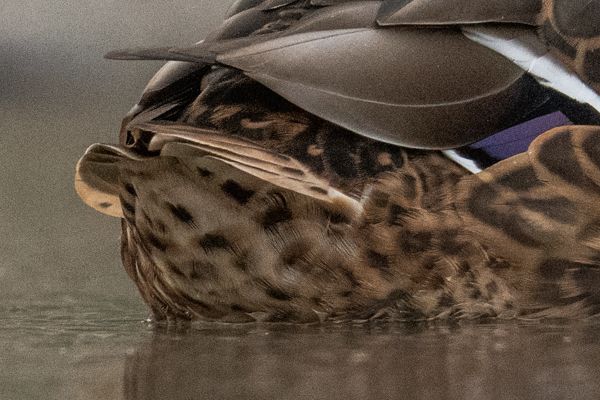
1/320 | f/ 9 | ISO 4500 | 500mm
The disadvantages of a fast aperture in bird photography
With a larger aperture, most lenses tend to become slightly less sharp. This means that even the objects on the focal plane are not perfectly sharp. With most lenses though, the reduced sharpness is practically not noticeable at all.
Vignetting is somewhat more noticeable, however. This also increases with larger apertures. With vignetting, the corners of the image are somewhat darker than the center. Depending on the lens, vignetting can be a bigger problem. For most lenses though, the vignetting can be corrected with image processing programs. In some cases, the camera itself can also correct the vignetting. In certain cases, vignetting can even improve an image. Because the center of the image is brighter than the corners, the focus of the viewer is automatically shifted more towards the center, where the animal is located.
The closer you are to an animal, the shallower the depth of field becomes. If you focus on the eye of a bird, for example, bodies are already too far away from the focal plane and are blurred. In this case, the aperture can be closed a little bit and the body is again reasonably sharp.

1/800 | f/ 4 | ISO 160 | 500mm
1/800 | f/ 4 | ISO 125 | 500mm
1/800 | f/ 4 | ISO 180 | 500mm
My recommendations
I recommend to open the aperture as wide as possible when photographing animals. On your lens this could be for example f/ 4, f/ 5.6 or f/ 6.3. Of course, there are also lenses that can open the aperture even further.
But if you are very close to your subject, you may be able to close the aperture slightly. You can then switch from f/ 5.6 or f/ 6.3 to f/ 8 or even f/ 9 in order to make the images generally a bit sharper. The larger focal plane also makes the whole animal to be in focus. But you should not lose sight of the background. If the background becomes too distracting, you should open the aperture again by a little bit.
Summary
To photograph animals the aperture should be as wide as possible. A wide open aperture is indicated by a low aperture number, e.g. f/ 4. The aperture can be set either in aperture priority mode or in manual mode.
A wide open aperture makes the background of your photos blur out and more light falls on the sensor. This allows you to either increase the shutter speed or decrease the ISO sensitivity.
In general, lenses with the aperture opened at their maximum will be slightly blurred and show more vignetting. But especially the latter can be fixed with image editing programs.
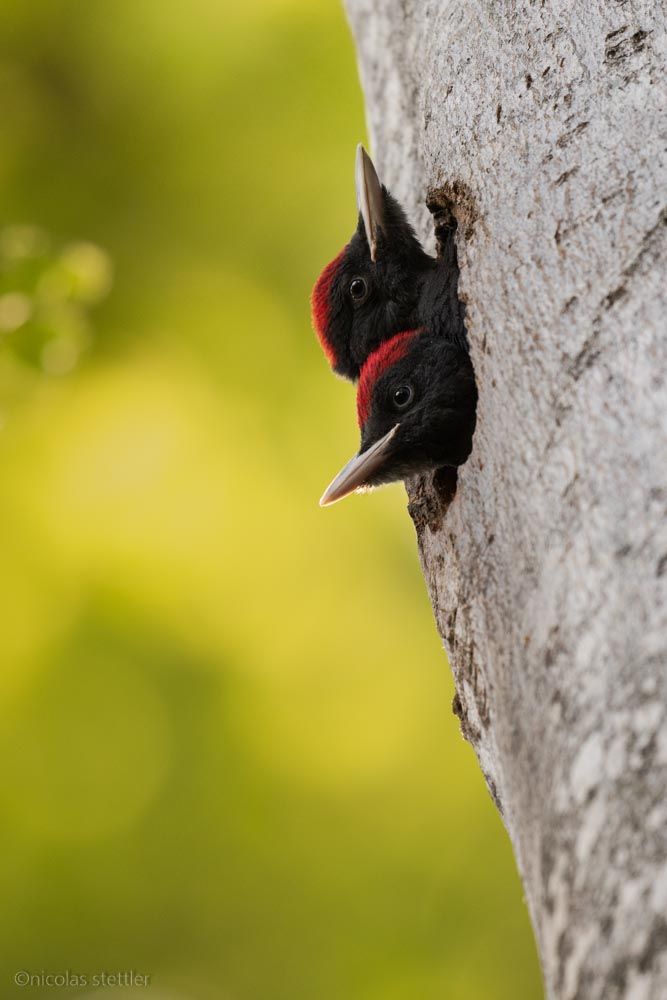
1/320 | f/ 4 | ISO 500 | 500mm
You might also find interesting:
Bird Photography - Create impressive images
Photographing birds can be very difficult. In this article you will learn how to create impressive and unique pictures of birds. I explain what you should pay attention to when taking pictures and where you can find birds that you can easily photograph. Learn from my tips and tricks, which I myself have learned in the last years while photographing.
The 11 most common ducks in Switzerland
Many ducks overwinter here in Switzerland. But how can you identify them. In this article, I'll talk about the most common ducks in Switzerland. You'll learn where they live and how you can identify them.

