The Floating Hide II of MrJan Gear
Both of the Floating Hides were manufactured by MrJan Gear and both were inflatable and could therefore be packed up in a reasonable small seized bag. While the Floating Hide I is made of one large inflatable base, the floating hide II has two long inflatable tubes that are connected by a construction out of rods. Both, Floating Hide I and II made a good impression. As the Mark II was a bit cheaper and a bit smaller, I went for the Mark II. In addition to the floating hide, I ordered the fitting air pump. Both arrived a couple of weeks later in surprisingly small parcel.
While the Floating Hide I is made out of one single float. The Mark II is built out of two floats that are connected with a solid construction out of 4 beams. The camera is mounted via a tripod-head on flat base in the middle of the two floats. Because the connection of the two floats is almost in the water, the camera can be mounted very low to the water surface. The low position of the camera makes the photos look more natural and it helps to get a blurred fore- and background. I wrote about the impact of a low camera position in an earlier article.

Assembly
 The floating hide 2 can be easily assembled. The connecting base is the most time consuming, especially for the first couple of times. I myself leave the connecting base assembled and transport it in one piece.
With the connecting base assembled, the rest is quick work. First, mount the tripod head on the connecting base. After putting the two floats in the two straps on the side, they can be inflated. There are orange markings on the floats to make sure they are connected at the right position.
If the floats have enough pressure, you can take off the pump. Thanks to the good valve, almost no air leaves the float. The valve can be secured by a cap.
If the air temperature is significantly higher than the water temperature the pressure in the floats can decrease by quite a lot. Even though, the floats still have enough pressure to float, it is better to have two fully pressurized tubes. In order to have to fully pressurized tubes, you should put the them for a few minutes in the water after you inflated them. As they will be cooled by the cold water, they will lose a bit of pressure. You can pressurize the float a bit more with the pump. Because most of the air inside is now already cool enough, the floats won’t lose pressure anymore.
With the floats now fully inflated, you can mount your camera before putting the tent on top. The tent is easily assembled with two tent sticks. Each end of a tent can be put in a tap on the tubes. There are multiple elastic bands on each side to fasten the tent.
With that everything is set and you’re ready to go into the water.
Safety
 To bring your camera gear near or in the water comes always with a certain risk. As far a going into the water with my camera this is probably the safest version yet. In contrary to a tripod it cannot tip over or sink in the soft lake ground. The floats are made out of strong material it seems really reliable.
While the floating hide itself seems pretty safe for the camera. Going out with the floating hide is something that should be planned first and requires a bit of concentration. Especially when you’re out with waders. As waders only go up to your chest, it can easily happen that a bit of water comes into the waders. This can get quite dangerous when a lot of water gets in. The air at the feet gets trapped the water pressure then pushes the feet upwards. For this reason and the fact that it is almost not possible photographing while with no contact to the ground, I recommend you to always have solid contact to the lake ground. This applies especially when you go out in waders. I haven’t had the chance yet to photograph with the floating hide when it was warm enough to use a wetsuit. This would allow me to get into deeper waters and it might even be possible to swim with it.
Something I might consider buying in the future is a dry suit. It would also allow me to photograph in colder temperatures as it gets pretty cold quite quickly in the waders. The company that produces the floating hides offer a special dry suit* especially made for floating hide photography. It does look quite good and might be the perfect addition for the floating hide.
So you have bought or built yourself a floating hide. But before you go into the water with your camera gear for the first time you should check if everything is working properly. You should also check every new location for any possible dangers. How deep is the water? How steep is the shore? Is there a water current that could push you away? Also, try to keep an eye out for the weather. Wind and waves make it difficult to move out of the water quickly. You should therefore leave the water early enough in case of thunderstorms.
 I bought the floating hide last autumn. Unfortunately, I only got to use it once before it got too cold to use it. This spring I was already able to use it for a couple of times. While I wasn’t that successful on the one morning in autumn, I already got some great images this past months.
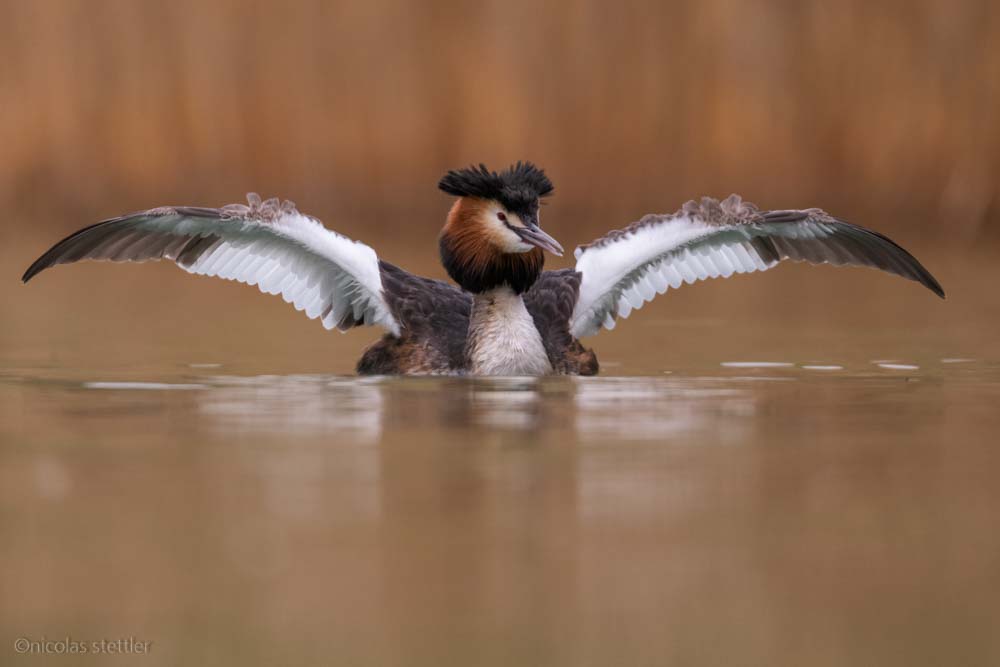
Because most of the very good locations in Switzerland for waterfowl are protected, the most difficult part is to find a location where you can actually use the hide. I myself have found a few locations that are pretty promising. One of them has a larger colony of great-crested grebes. Even though I have some other locations, where I can photograph the great-crested grebe from the shore and without any camouflage, I still really enjoy photographing them with the floating hide. As this is a colony with at least 20 to 30 pairs, there is always some sort of action. Fights and courtship behaviour are a lot more frequent than at my other locations. As the floating hide gives me the ability to move around, I can be very flexible. It allows me to turn around, move forwards or backwards without the birds getting sceptical.

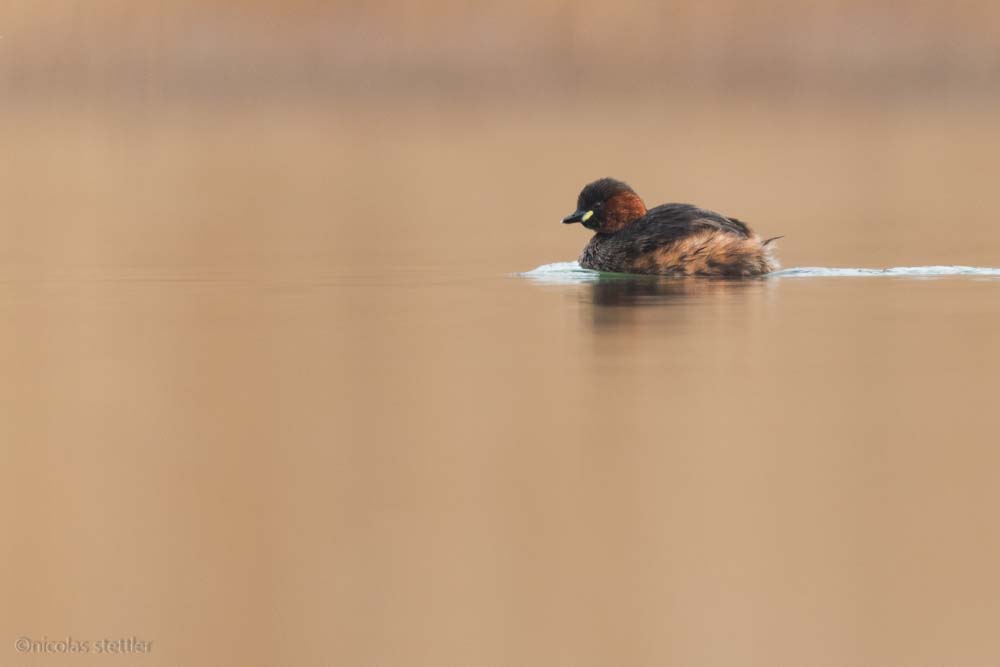
Unfortunately, not every bird is a easy to photograph it in the floating hide. I found that especially swans and common mergansers are pretty anxious about the floating hide. Other birds are the total opposite. I had for example a little grebe that was diving around me for a few minutes. Until then, I was never able to even get a reasonable image of the little grebe.
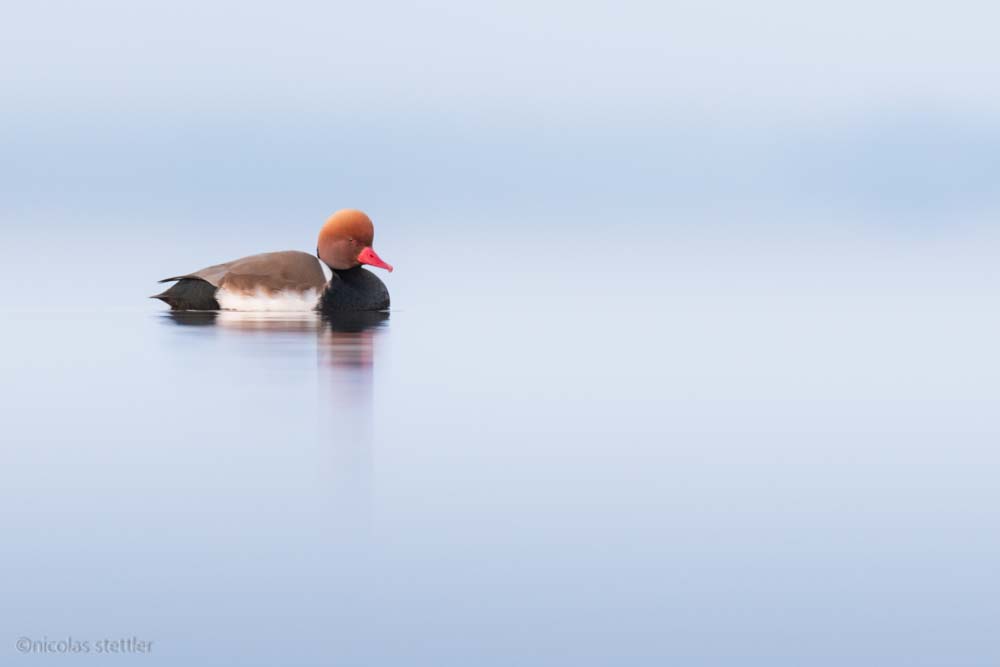
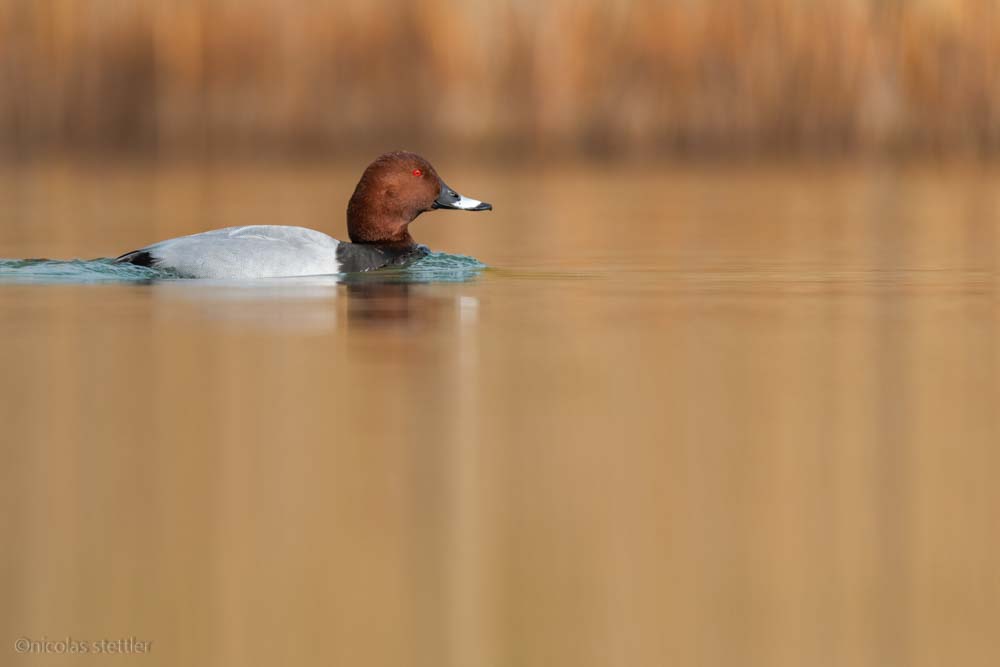
There are also a few duck species at this location. Most of them were overwintering at this location and were about to leave in direction of their breeding grounds. Two years ago, I observed a family of pochards at this location. With a bit of luck, I might get the chance to photograph a family again this year. The fact that there were a couple of females and males at the location until recently, makes me pretty hopeful. Even though most ducks are very skittish, I could easily photograph them out of the floating hide. Some of them were even sleeping right beside me.

Conclusion
The floating hide from MrJan Gear is of very good quality. It makes photographing waterfowl a lot easier. The possibility to move while remaining hidden makes it a dream for every wildlife photographer. So, would I recommend it for every wildlife photographer out there?
No, probably not. Even though it is pretty good value for money, with 650€ it is still quite the investment. In addition, it can’t be used everywhere and it is a really specialised tool. It definitely isn’t the first thing you should invest in, when you get into wildlife photography.
As you’ll find your own style with photography and start to specialise in certain species, a floating hide becomes more interesting. While you can always choose to build one on your own, I’m really happy with the choice I made. The fact that it is so easy to transport, increases the usability by a lot. I don’t think that I would use a bulky piece of foam as much as the inflatable floating hide. That’s not just because of the tight packaging but also because I trust it a lot more than a self-made hide from an internet tutorial.

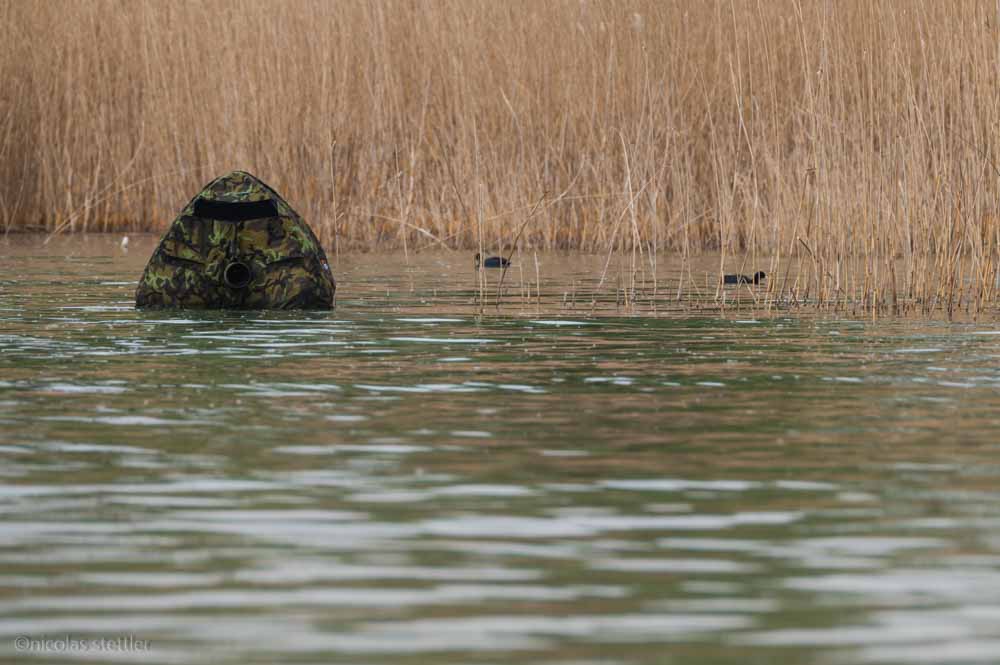
Images taken with the floating hide